
Fabric Bunting Tutorial
When I saw Bonnie Christine’s latest fabric release, Her & History, I was in love! I had several projects that immediately popped into my mind, and the first one was a festive but stylish fabric bunting. Since my son had a birthday coming up, it was just perfect! The best part of this bunting is that it’s incredibly quick and easy, and can be reused year after year.

How much fabric you need really depends on how long you want your bunting to be. Each finished triangle is about 6 1/2 inches wide, and they will be placed edge to edge in the finished bunting. To calculate how many triangles you need for your bunting, divide the length you want your bunting to be by 6.5. For example, I wanted my bunting to be quite long - nearly 100 inches. So I needed 15 triangles.
Supplies Needed
1/4 yard of each fabric (you will get 4 finished bunting triangles out of each)
Bias tape
Steps
Print out the template provided at 100% and cut it out.
Fold each length of fabric in half, with the selvage on one end. Lay out your template next to the selvage. Trace around it, then flip the template, move it over, and trace it again as shown.

Layout of triangles, with the selvage at the left and fabric fold on the right.
3 . Continue tracing and cutting out the triangles. You will need an even number of triangles, and for most fabric lengths you’ll get 8.
4. Do the same thing above for each fabric you are using.
5. Stack two triangles of the same fabric right sides together. Pin along each edge, then sew a 1/4 seam along each side but NOT around the top. The top will stay open. Do this for each set of 2 triangles.
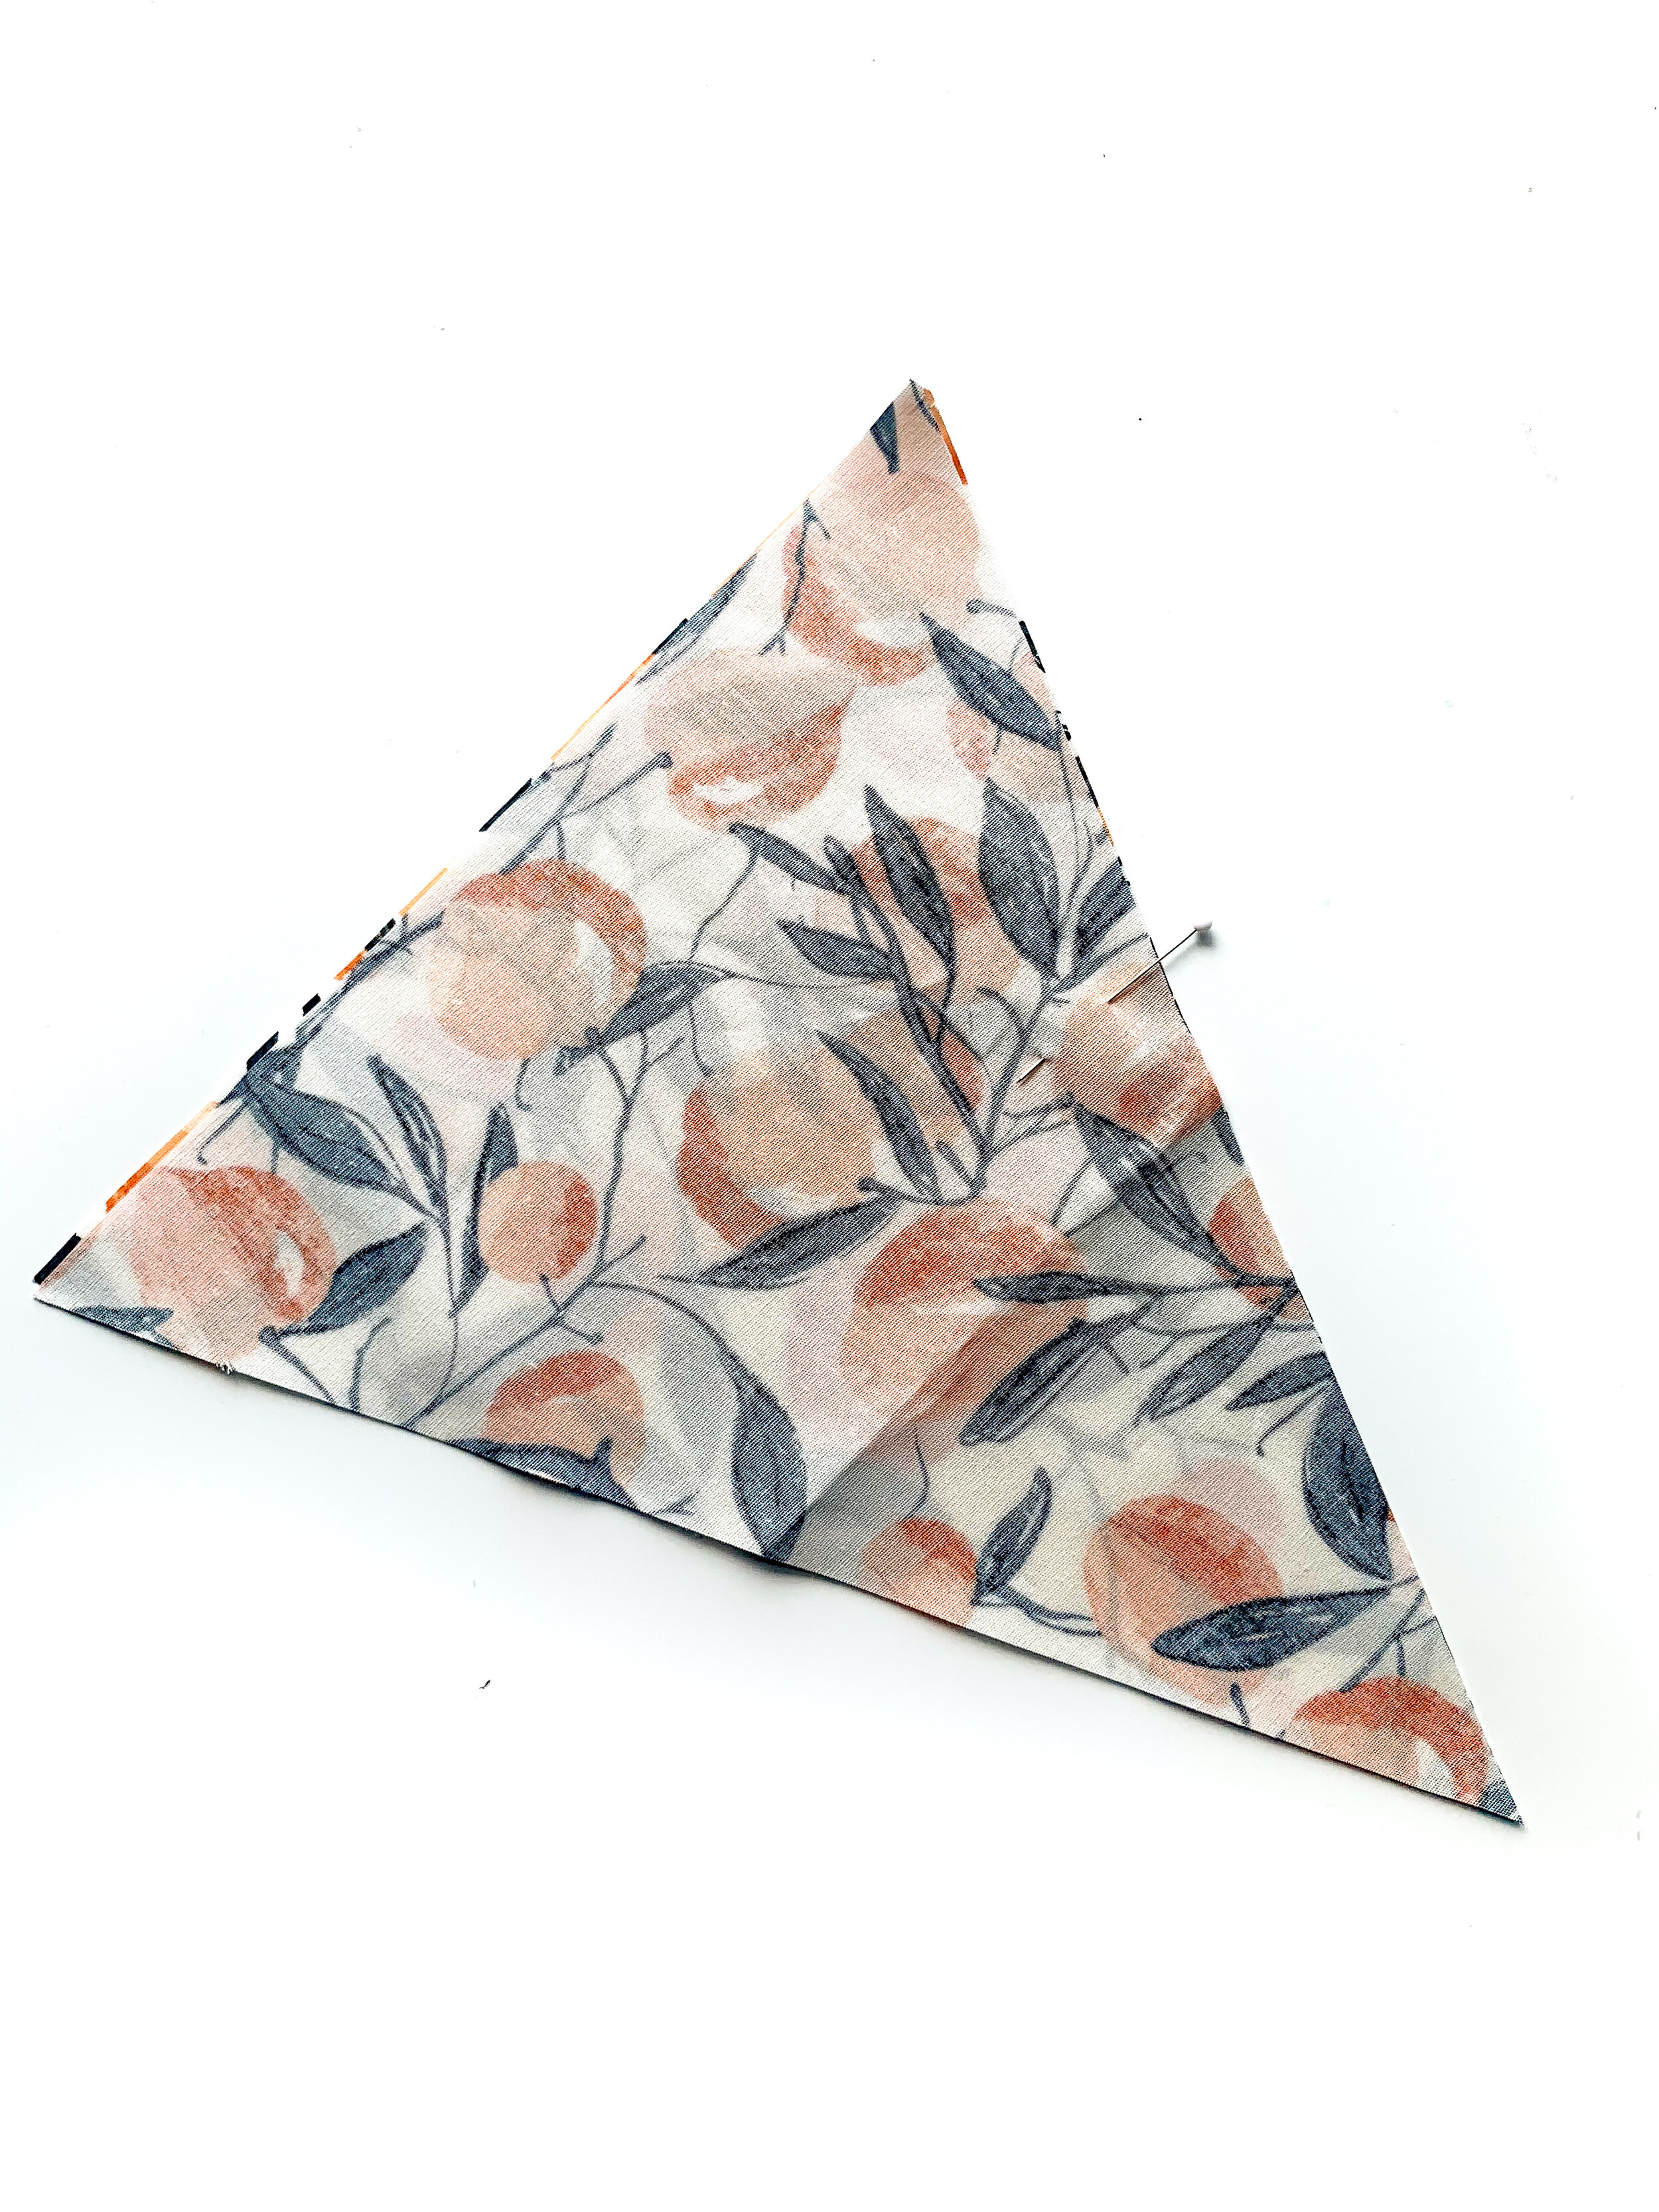
6. Clip the bottom corner close to the seam to make sure the triangle has a nice sharp point.

7. Turn the triangle right side out, and use a pencil or something similar to push the point out as far as possible.

8. Press the triangles.
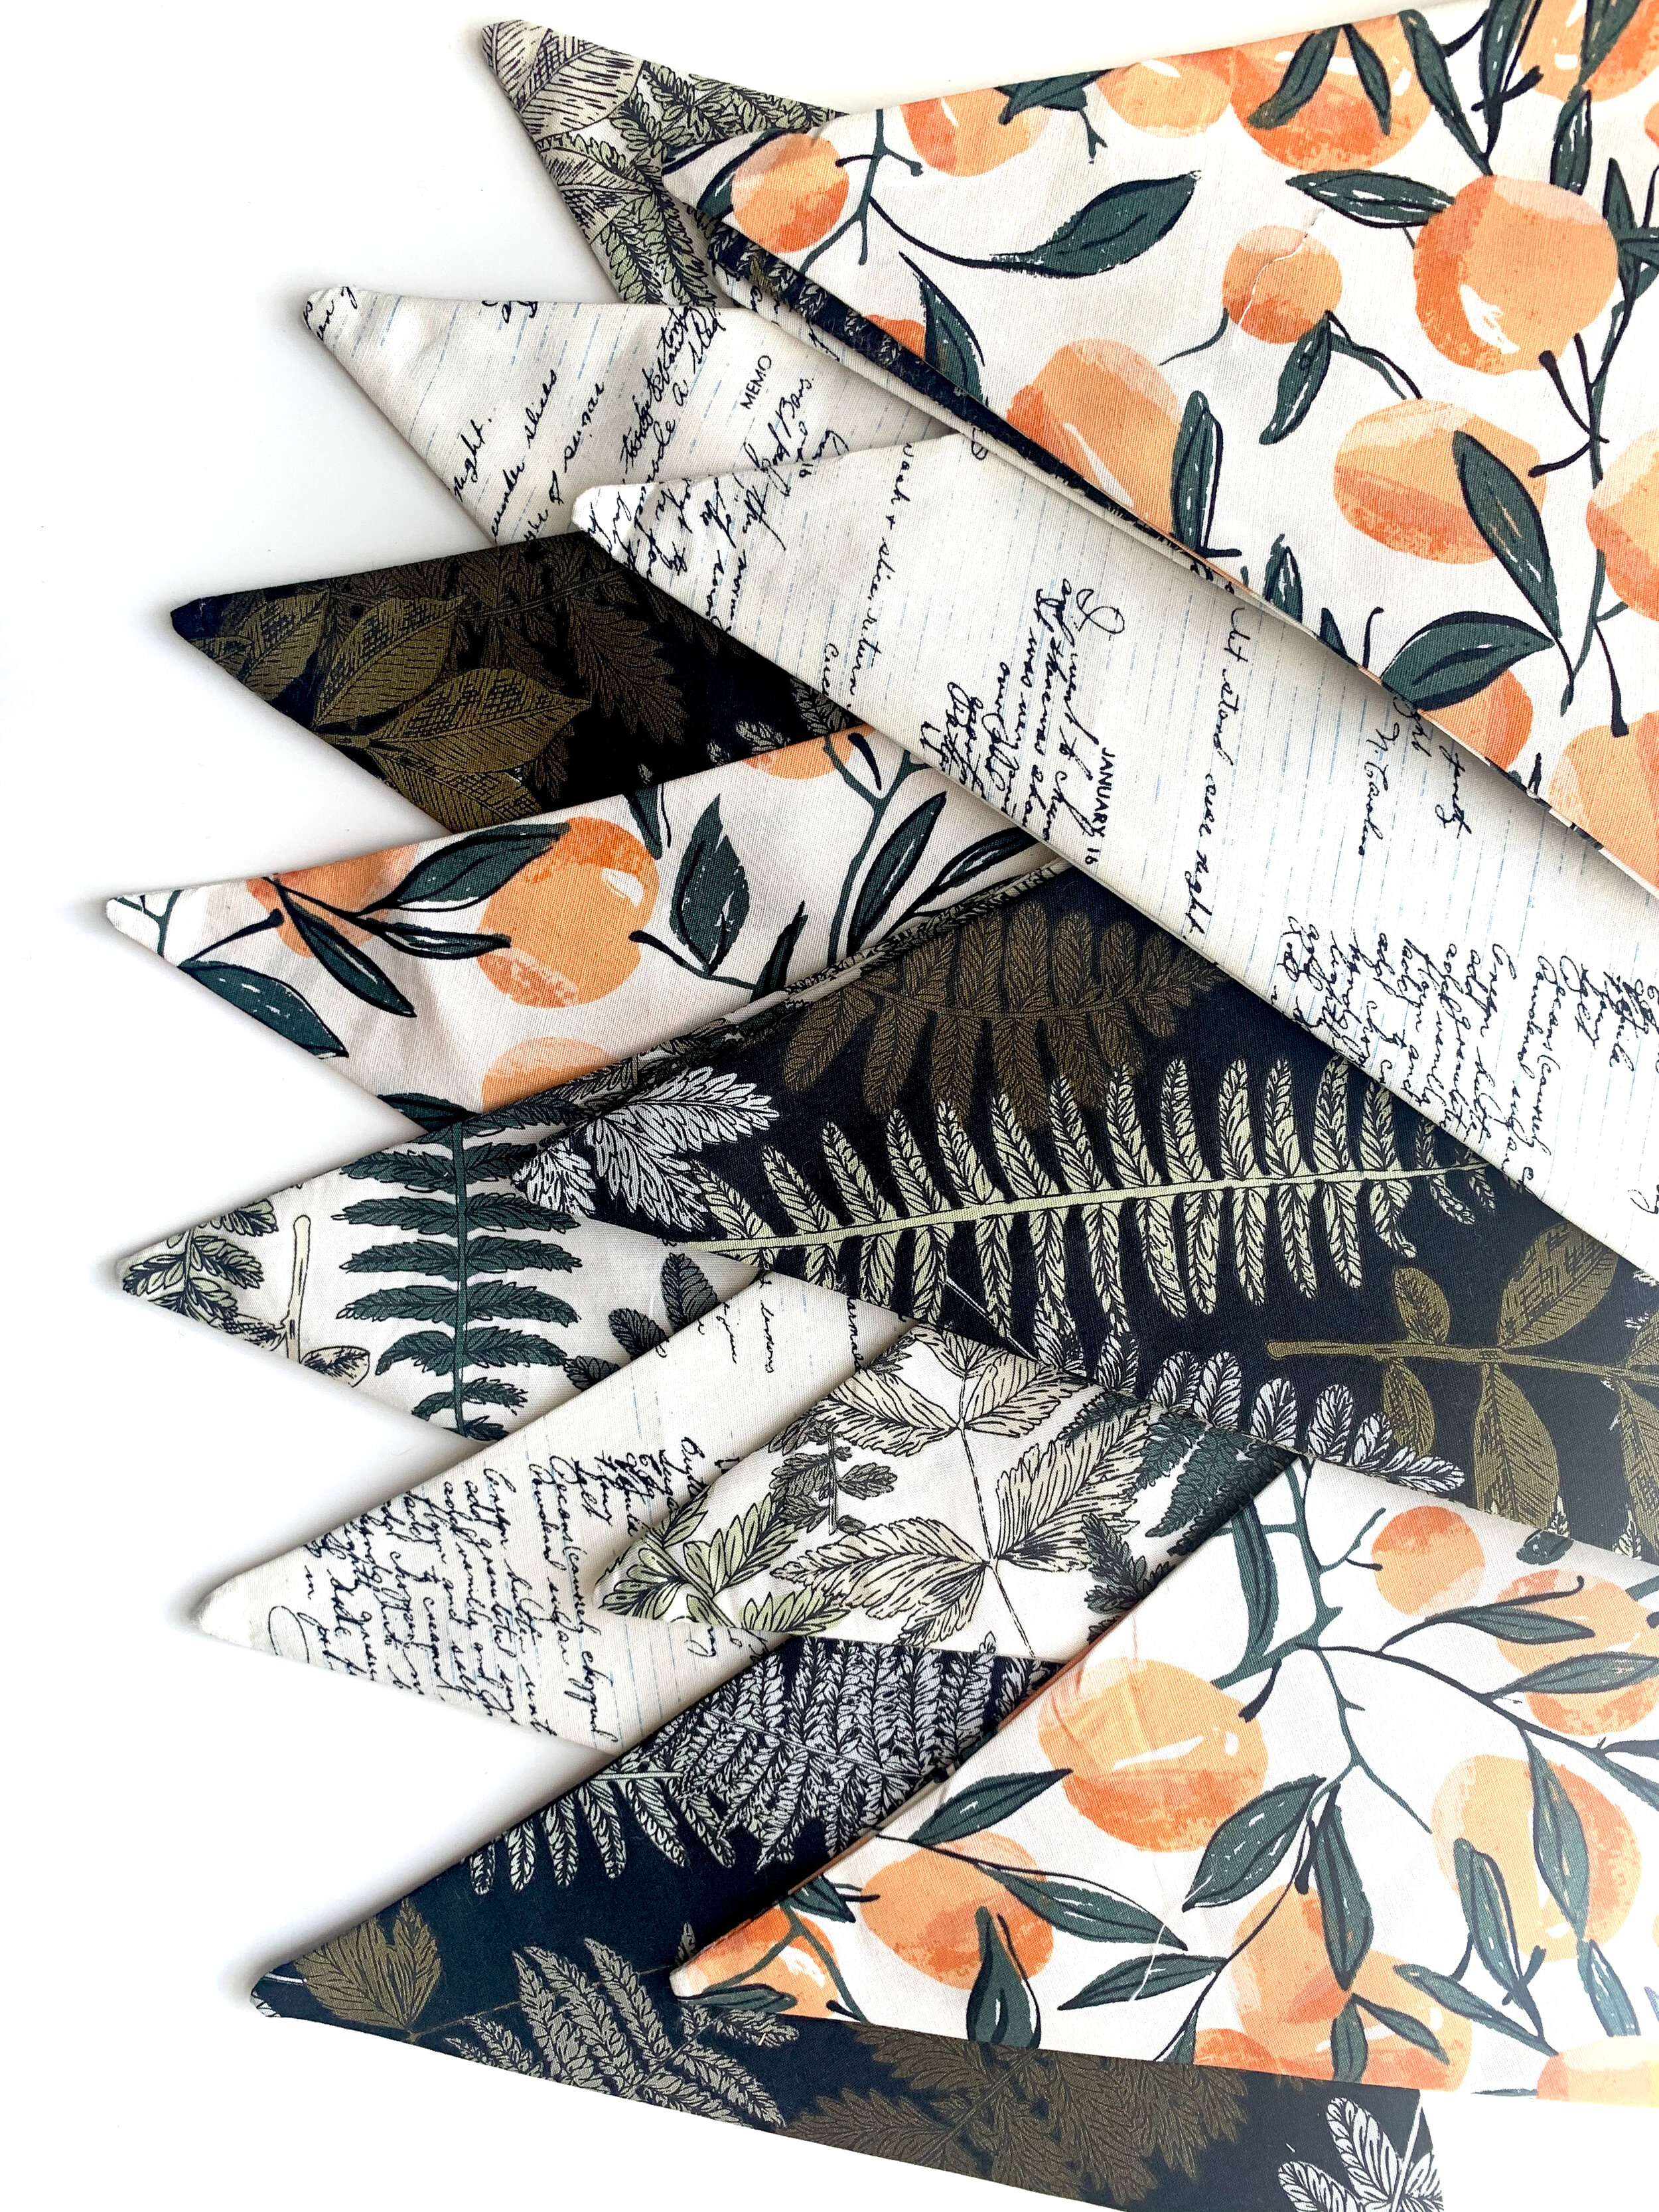
9. Stack your triangles in the order you’d like them to hang in the bunting.
10. Leave a length of bias tape on the ends long enough to use as the ties for hanging, then open up the bias tape and carefully place the top of the first triangle inside, making sure none of it is falling out. Pin it in place, then put the second triangle right behind the first, with their corners touching. Pin this one as well.
11. Once your first two triangles are pinned in place, carefully stitch along the open edge of the bias tape, making sure the triangle is being caught within. Once you’ve stitched along the entire first triangle, add a third triangle after the second and pin it in place as well. Stitch the second triangle, then continue in this fashion until all of your triangles are stitched in place!

Tada! Your festive bunting is complete!
