
Quilted Christmas Tree Skirt Tutorial
When I heard from Hailey of @haileystitches that she wanted to make a Christmas tree skirt with the Solar Flare pattern, I was thrilled! Then she mentioned that she’d like to write a guest blog post documenting her process, and I jumped at the chance to share this awesome project. The really fun part of this project is that you can use any quilt pattern you’d like, and there are also some. bonus projects to make sure your scraps don’t go to waste. To read about more of Hailey’s quilty adventures, visit her blog!
How to Make a Christmas Tree Skirt out of any Quilt Pattern

I’m always looking for new ways to incorporate quilts into my home decor and when I saw the Solar Flare quilt pattern, I was inspired! I knew this modern quilt pattern would be an adorable quilted tree skirt.
Although I made the Solar Flare quilt pattern with the intention of turning it into a tree skirt, this simple tree skirt tutorial is a great way to bring new life to an old quilt. I love the idea of repurposing a worn and weathered quilt into a tree skirt to give it a new purpose for years to come. You can also use this tutorial to finish any quilt tops you have laying around. You could even use two quilt tops, one for the front and one for the back, to make your tree skirt reversible!
Today’s tutorial assumes that you already know how to make a quilt.
Size Guide
This tutorial will help you turn any quilt pattern into a tree skirt. The tutorial will have instructions for both a 48” skirt and a 56” skirt. The size of your tree will determine the size of your tree skirt. Use the chart below to determine what size skirt you should make and what size quilt pattern you will need.

Glossary:
WOF - Width of Fabric (this project assumes WOF is 42”)
Supplies
An assembled, quilted, and squared quilt sandwich
Quilting ruler (I used a 6” x 24” ruler)
Rotary cutter
Cutting mat
Fabric scissors
Fabric marker or pen
Pins
Binding clips
Binding fabric (see fabric requirements below)
Binding Fabric Requirements

Let’s get started!
Cutting the Tree Skirt
1. Carefully fold the quilt into fourths with the quilt top facing up

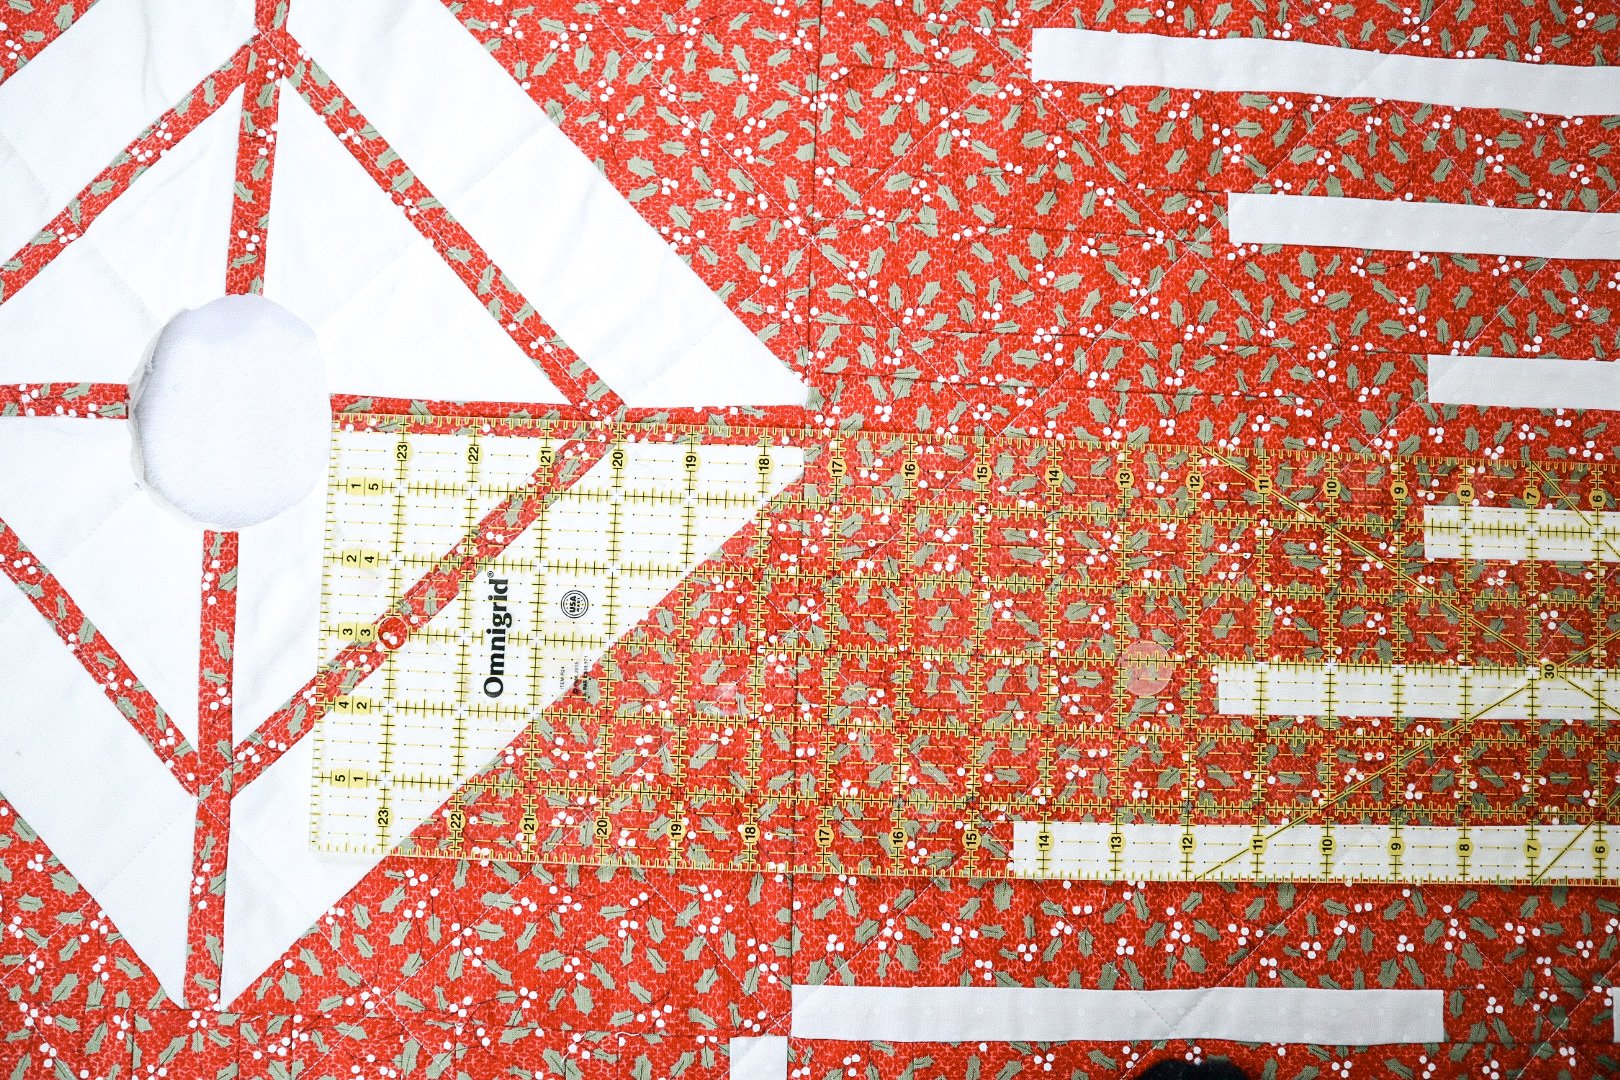
2. Use a ruler to mark where the quilt will be cut. Mark the quilt every few inches by rotating the ruler, making sure the bottom of the ruler lines up with the corner of the quilt. If you are making a 48” tree skirt, measure 24” from the corner of the folded quilt. If you are making a 56” tree skirt, measure 28” from the corner of the folded quilt. Use an additional ruler to help measure the length if your ruler isn’t long enough.


3. Use the ruler to mark where the center hole will be cut. The width of the center hole will depend on the circumference of your tree trunk. If you have an artificial tree, mark your quilt 1.5” from the corner. If you have a real tree, mark your quilt 2.5” - 3.5” from the corner.

4. Use fabric scissors to cut along the marked lines on the quilt, cutting the outer quarter circle and inner quarter circle.

5. Draw a line from the center of the quilt to the edge of the quilt. Cut along this line. This is how you will be able to wrap the tree skirt around your tree and tie it closed.

Don’t worry, the trimmed outer part of your quilt won’t go to waste! At the end of this post, I’ll give you a few ideas to turn these “scraps” into adorable holiday home decor.
Next, we’ll make the quilt ties for our tree skirt.
How to Make the Tree Skirt Ties
1. Cut (2) 2.5” x WOF strips from the binding fabric. Remove the selvages.
2. Press both of the 2.5” x WOF binding fabric strips lengthwise with both edges meeting in the middle as shown below. When you are pressing, make sure you are pressing the fabric wrong sides together.

3. Cut the strips into a total of (6) 13 ½” strips.
4. Fold one edge of each 13 ½” strip in ½ inch and press.

5. Fold the 13” strips in half lengthwise and press again.

6. Stitch the 13” strips closed using ¼” seam. You will now have 6 tree skirt ties with one finished end and one raw end. Set the ties aside.

Because the tree skirt is circular, this project requires bias binding. If you’ve never made bias binding before, this project is the perfect time to learn! I’ve provided a super simple step-by-step tutorial to help you create bias binding.
How to Make Bias Binding
1. Cut your yardage of fabric in half lengthwise to get two pieces of fabric. If you are making the 48” skirt, you will have (2) 21” x 26 ½ pieces. If you are making the 56” skirt, you will have (2) 21” x 31” pieces. Stack the two lengths of fabric on top of each other.

3. Use the 45-degree line of your quilting ruler to trim off the corner of your fabric and create a 45-degree cut.

4. Cut the entire length of fabric into 2.5” bias strips. Add the corner pieces and any super short strips to your scrap bin.


5. Place two strips right sides together forming perpendicular lines, making sure to not include the selvages in the overlap.

6. Draw a diagonal line and sew along the diagonal line as pictured below.
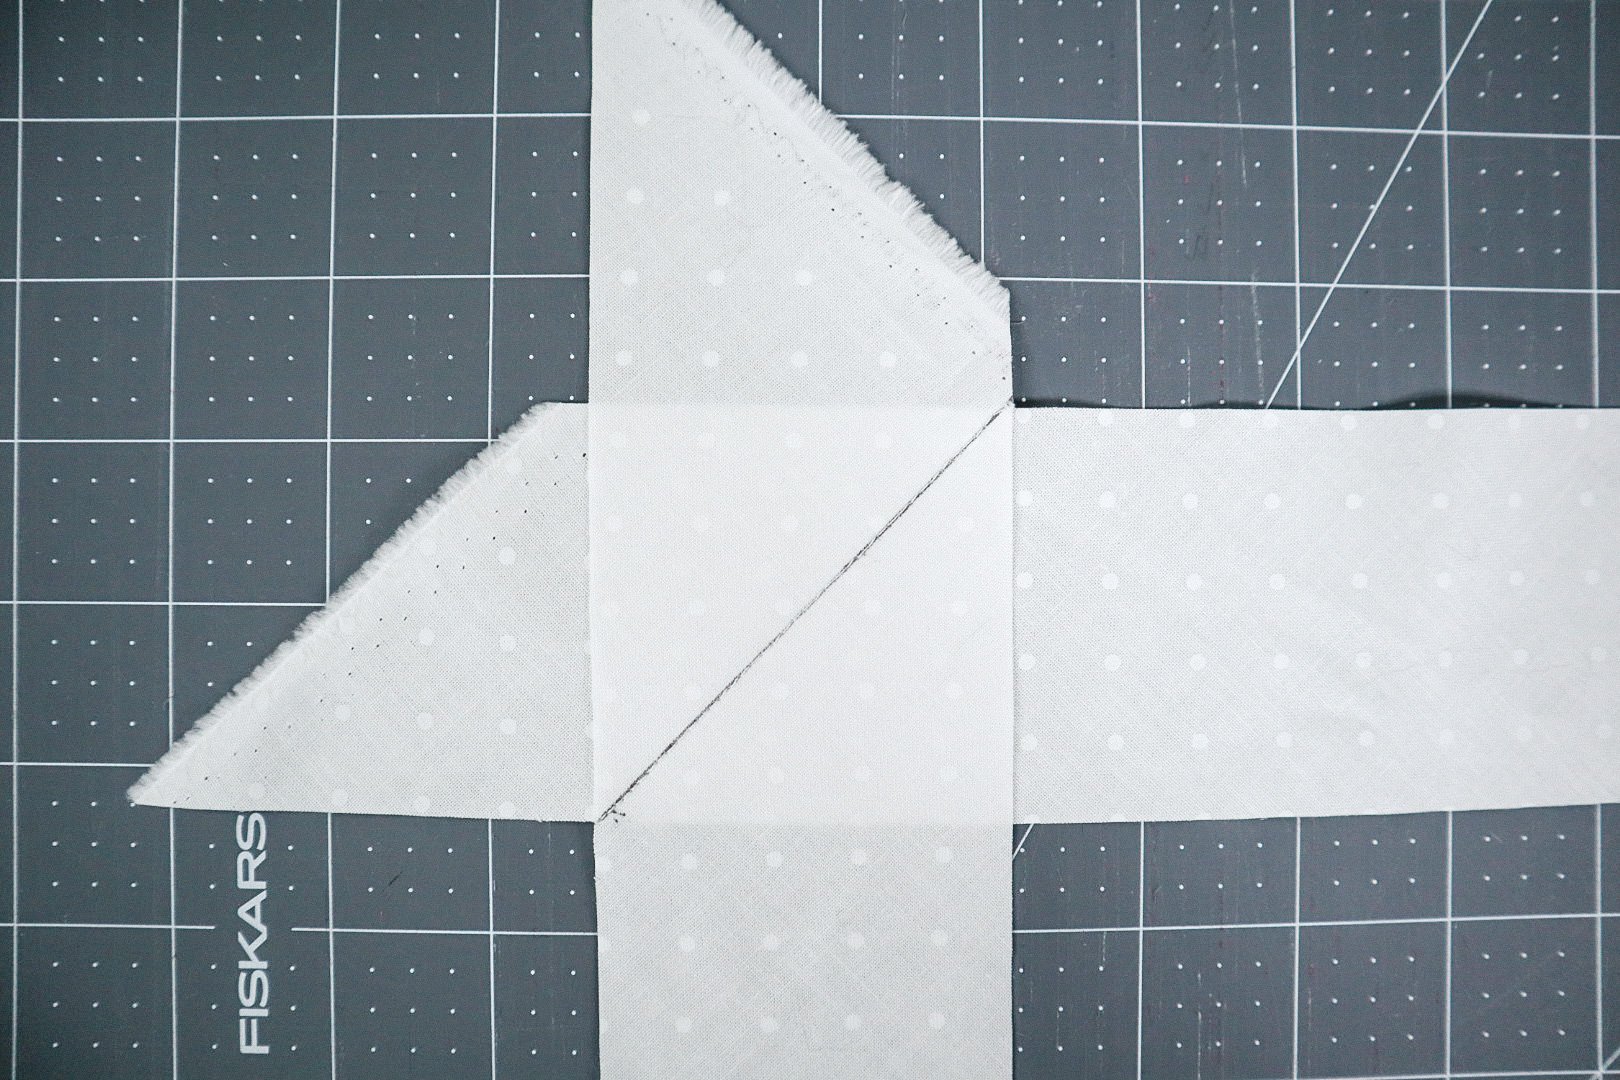
7. Trim ¼” away from the sewn line

8. Trim the dog ears and press the seam open.


8. Repeat steps 5-8 until all of the strips are sewn together.
9. Press the binding in half lengthwise with the wrong sides together.
Attaching the Binding
1. Starting on the outer edge of your tree skirt, attach the binding as usual. Use mitered corners when you get to the 90-degree edges of the tree skirt opening.

2. Before you bind the tree skirt opening and center hole, pin the tree skirt ties evenly apart on both sides of the opening. Line up the raw edge of the tie with the raw edge of the quilt. If you are making the 48” skirt, pin the ties every 6 inches and if you are making the 56” skirt, pin the ties every 7 inches. Place the binding on top of the ties and secure the binding to the quilt. This step will sew the ties into the quilt.

3. Generously pin or clip the binding to the inner hole of the tree skirt to help you stitch the binding to the quilt.

4. Attach the other side of your binding to the tree skirt by hand or machine.
That’s it! This super simple tutorial will help you make a custom tree skirt out of any quilt pattern.

Bonus Projects
You didn’t think I’d leave you with a heap of leftover quilt, did you? Easily turn the edges of your quilt into ornaments using this template and tutorial.
Supplies:
Leftover quilt pieces
Ribbon or yarn
Simple Christmas Tree Ornament Tutorial

1. Print and cut the tree ornament template.
2. Pin the template to your quilt, and cut around the template.
3. Cut a 3” ribbon or piece of yarn for the ornament hanger.
4. Place both ends of the ribbon or yarn between the layer of batting and quilting cotton.
5. Topstitch around your ornament.
Repeat these steps until you have enough ornaments to fill your tree! I love how each ornament is unique because it’s just a small portion of the larger quilt!
Need a few more ideas to use up your quilt scraps? Try these!
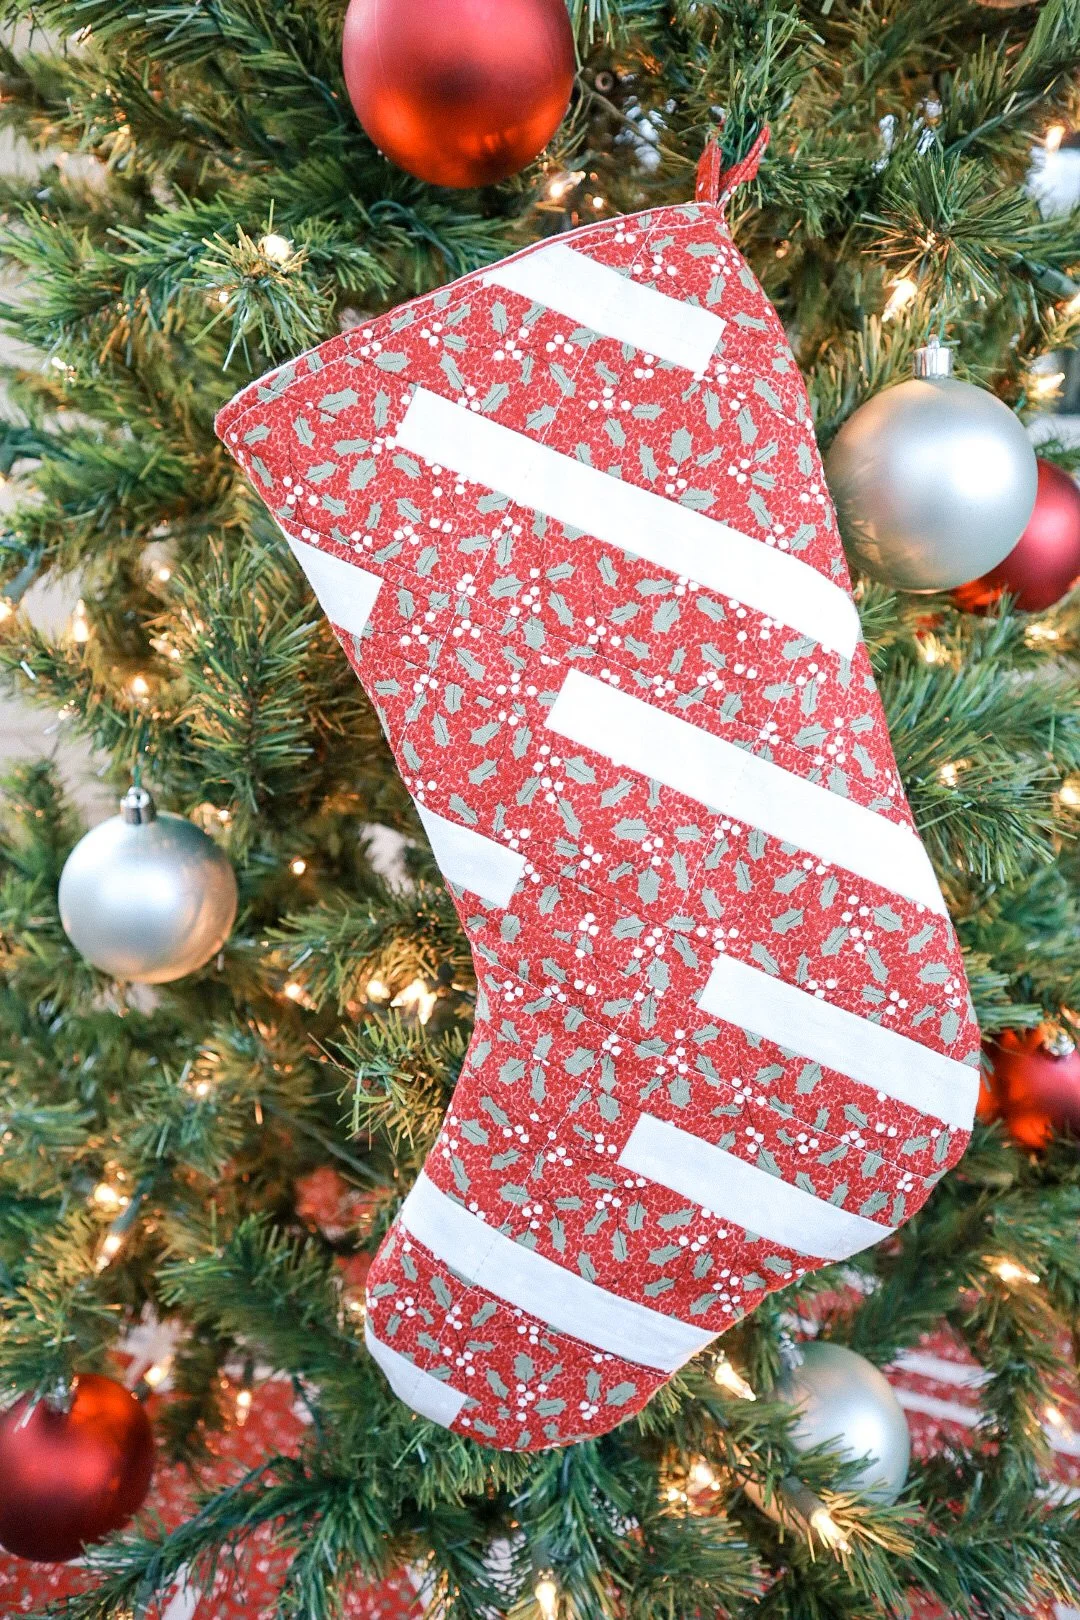
Stockings
Placemats
Coasters
Bunting (get a free template here!)
Potholders
Postcards
Enjoy your new quilted tree skirt and matching holiday home decor!
